
There are some key yoga poses which will show up in most classes. There’s nothing fancy about these poses but learning to do them well – and by ‘well’, I mean in a way that allows you to find a feeling of space, balance of demand and ease in the pose – will give you a good solid foundation from which you can begin to learn more poses and develop your practice with confidence. Below are 5 of the key poses that I consider to be foundational for beginners.
Child’s pose is a go-to pose for rest. For that reason, it’s an important one. Not everyone finds it restful though, and if that’s the case for you, some good alternatives are kneeling, or lying on your back and hugging the knees into the chest.
To practise Child’s pose, start on all-fours, take your knees wider than hip-width apart and your big toes together, and then sit your bottom back towards your heels. Fold your torso over the legs so that so that your belly rests between the thighs. Place your head on the mat or on a brick or cushion. You can either stretch your arms out on the mat in front of you or place them back beside your legs. Allow your whole body to release into the pose and breathe. Repeat this any time during the class when you need to rest. No permission needed.
Downward Facing Dog will show up in most classes, and it can be challenging for beginners because it involves bearing weight through the arms and hands, which can feel demanding if you’re not used to it. It also requires a degree of openness in the shoulders and upper back, as well as in the backs of the legs. However, all of this can be worked on, and with practice Downdog can start to feel a more balanced and restful pose.
To practise Downward Facing Dog, start on all-fours and take your hands as wide as your mat and then a large step forward so that the hands are forwards of the shoulders. Position the knees so that they are hip-width apart and then tuck your toes under, lift your knees and then lift your bottom up towards the ceiling. Keep a good bend in the knees, especially if the backs of your legs feel tight. Your aim should be to feel a balance of weight and demand through the hands and the feet, so you shouldn’t feel that the arms are working more than the legs and vice versa. Imagine your body as a nice balanced wide upside-down V-shape with your bottom lifting high towards the ceiling.
I commonly see beginners struggle to find the correct distance between hands and feet which results in the weight distribution between hands and feet being uneven. Often people go for a stride that’s too short in an attempt to take weight away from the arms and to try to get the heels to the floor. Your heels do not need to be anywhere near the floor (mine do not reach the floor!). Always keep in mind that you are trying to find balance in every pose, and Downdog is no exception.
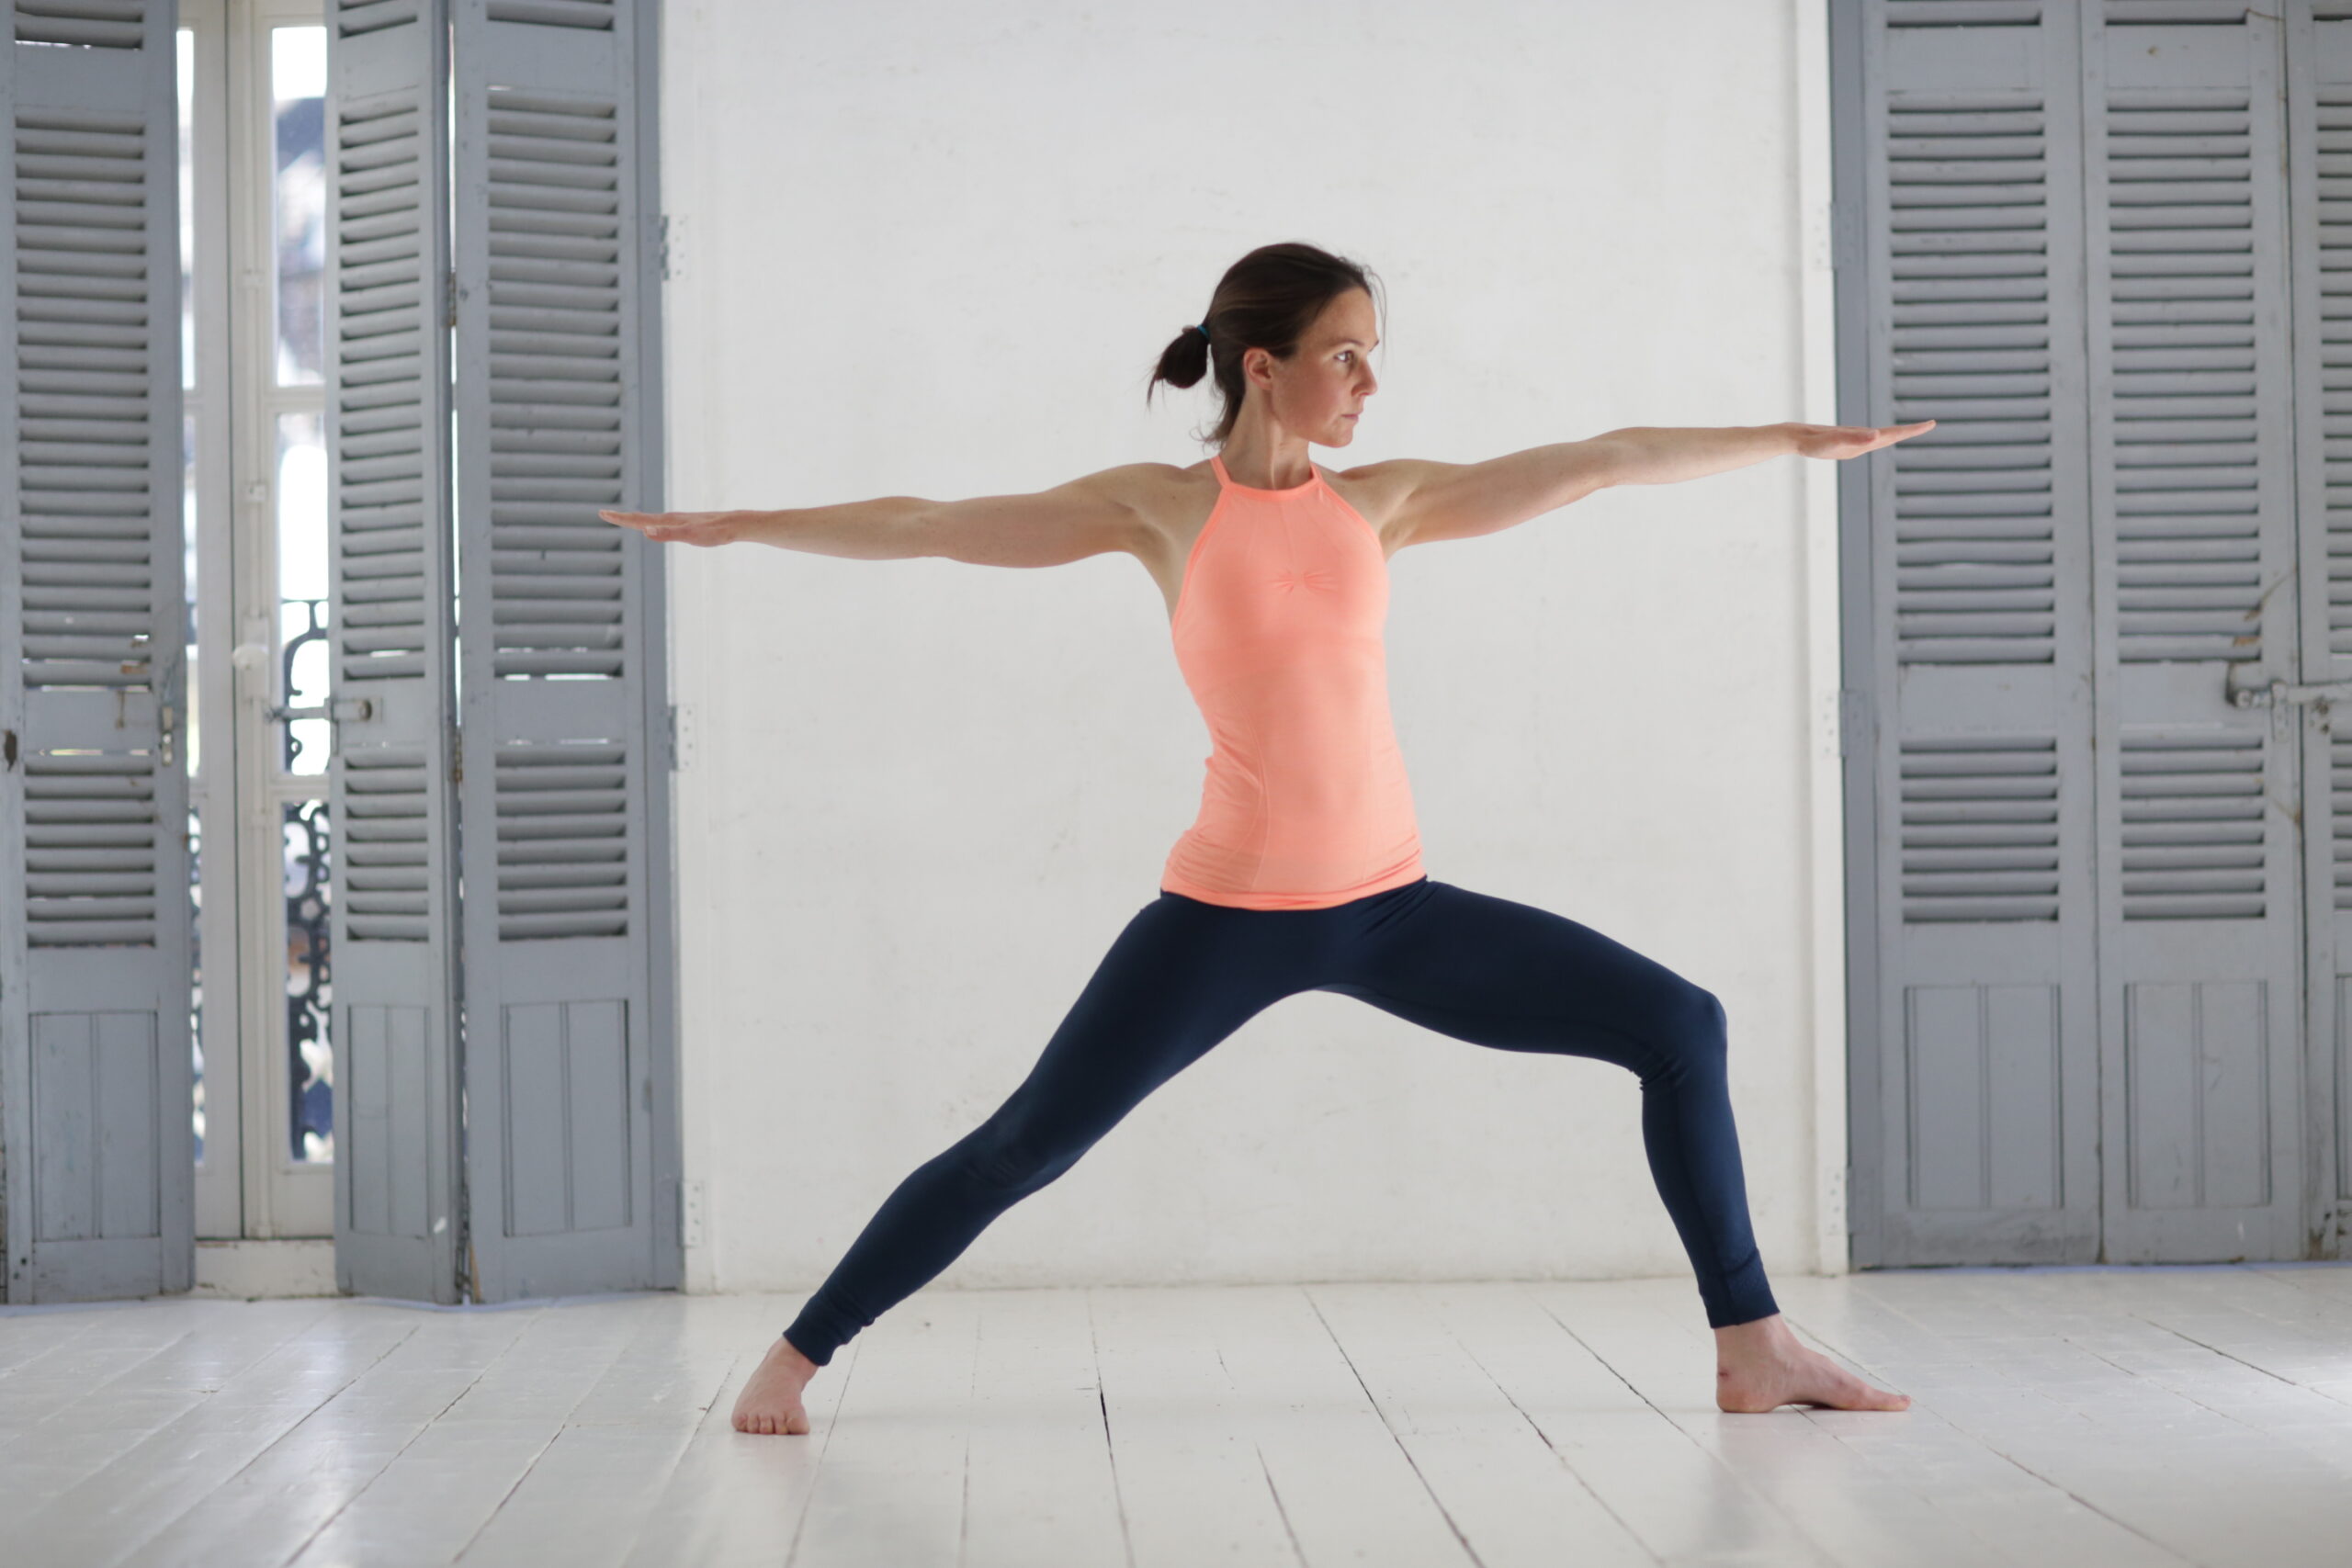
Warrior 2 is a key standing pose, and it acts as a foundation from which other wide-legged standing poses are built, such as Triangle pose and Extended Side Angle pose.
To practise Warrior 2, stand so that you are facing the long edge of your mat and take the feet into a wide stance. Turn your right foot so that the toes face the short edge of your mat and keep the left foot facing the long edge. Bend your right knee and check that the right shin is roughly vertical. Keep your chest facing the long edge of your mat, and then reach your arms wide, keeping the arms in line with the shoulders. It’s common to lean the torso towards the bent knee, so try to avoid this by keeping the torso upright. Look towards the right hand and breathe. Repeat on the second side.
There are many standing balances in yoga and Tree pose is a great way to introduce and practise the techniques and actions of the feet and legs when balancing.
To practise Tree pose, stand on your mat with your feet hip-width apart and start by taking your hands to your hips. Focus your eyes on a spot on the floor or on the wall in front of you. Press down through your right foot (which will be the standing foot) and come onto the ball of your left foot. Try to create a feeling of even weight distribution through the standing foot, from the base of your big toe, to the base of your little toe and to the centre of your heel. Engage your right thigh, your outer hip and your right glutes. Now open the left knee out to the side and bring the sole of the left foot to the inner right foot and ankle. Keeping the left toes on the floor is plenty, but if you’d like to take it further, you can position the sole of the left foot below or above the right knee. Keep your hands on your hips, or you can take them into a prayer position at the heart’s centre or stretch them over head. Now breathe! Repeat on the second side.
As a top tip, remember that it’s really normal for the standing foot to wobble. My foot always wobbles too. The key thing is to not let your mind worry about this. Keep your visual focus on one spot in front of you, and as the foot wobbles, try to maintain the feeling of even weight distribution through the base of the big toe, base of the little toe and the centre of the heel. You can practise this whilst boiling the kettle or brushing your teeth!
Every class will end in Savasana and it’s an opportunity to completely rest and relax which, let’s face it, is a rare and precious thing!
To prepare for Savasana, make sure that you are wearing all the clothes that you need to help you to feel warm and comfortable. Lie on your back. You might like to take a blanket or a cushion under your head for extra comfort, and a blanket over your torso. Place your arms by your side with the palms facing up towards the ceiling. Take your legs a little wider than hip-width apart and allow the feet to drop out to the side. Close your eyes if it feels comfortable to do so. You may like to place an eye pillow over your eyes. Allow the whole of the back of your body to release towards the floor. Perhaps scan through your body and notice if you are holding tension anywhere and see if you can relax those areas. Stay here in stillness for 5 or more minutes.
If at first you find it challenging to switch off and your mind feels busy, try focusing on the feeling of your body breathing – perhaps bring your awareness to the rise and fall of your lower rib cage or the feeling of air coming in and out of your nose. This may help to settle your mind so that you can relax into the pose.
If you’d like to start learning yoga with me, you can do so via my self-paced online Yoga for Beginners course or with 1-to-1 private online tuition. You can also download my free Beginner’s Guide to Yoga.

